When installing the product via personal installation package, the installation is performed though the network.
A personal installation package contains Dr.Web Agent installer and a set of parameters for Dr.Web server connection and station authorization on the server.
Installation in wizard mode
At any installation step, before the wizard starts copying files to your computer, you can do the following:
•Return to the previous step by clicking Back.
•Go to the next step by clicking Next.
•Abort installation by clicking Exit.
To install Dr.Web
1.Run the installation package drweb_ess_windows_<Station_name>.exe received from the administrator. Dr.Web Installation Wizard window opens.
|
If any anti-virus software is installed on the computer, the Installation Wizard attempts to remove it before starting the installation. If the attempt fails, you need to remove the current anti-virus software manually. |
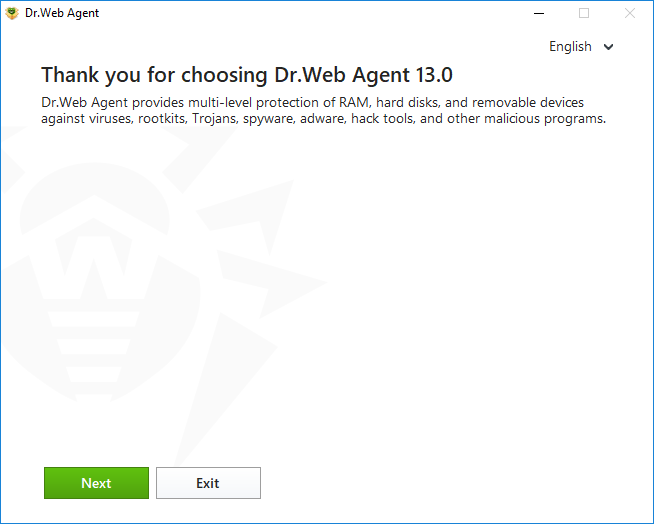
Figure 5. Installation Wizard
2.Click Next.
3.On the next step, specify the full path to the public key (drwcsd.pub) or to the certificate .pem, residing on your computer.
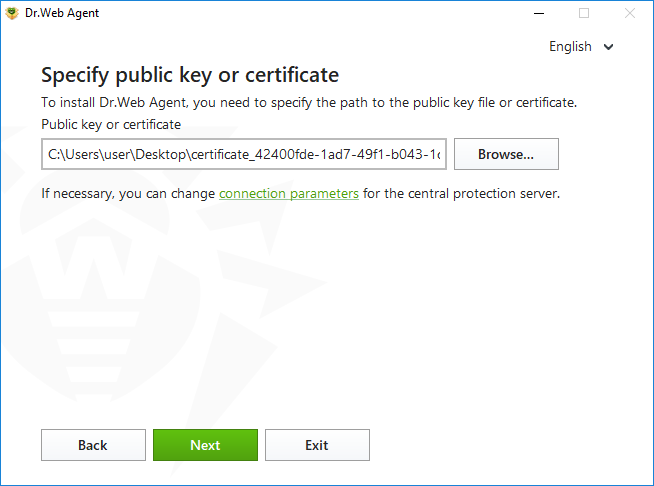
Figure 6. Public key or certificate specification
4.If needed, you can adjust parameters of connection to the central protection server. To do that, click the corresponding link. The Connection parameters window opens. When installing via personal installation package, all required connection parameters are already specified.
|
It is strongly recommended that you do not change the parameters without approval of your anti-virus network administrator. |
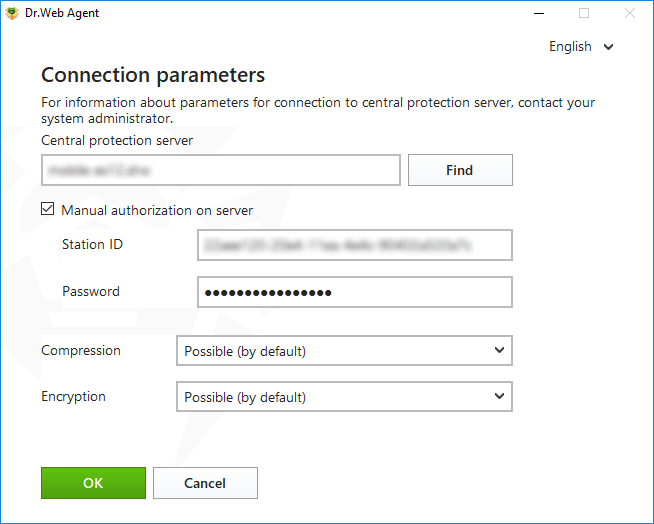
Figure 7. Central protection server connection parameters
|
For details on parameters for connection to the central protection server, contact the administrator. |
In the Central protection server field, you can specify the network address of the server, from which Dr.Web is to be installed. By default, this field is filled in with parameters of the server on which the installation file has been created. To search for active servers and to specify searching parameters, click the Find button.
To enable manual authorization on the server, enable the corresponding check box. After that, specify the following authorization parameters:
•Station ID—the identifier of the workstation on server;
•Password—the password to access the server.
In this case, the workstation does not require manual approval of the administrator to get access to the server.
|
When installing Dr.Web using the installation file created in Dr.Web Control Center, the Station ID and Password entry fields are filled in automatically if you have selected the manual authorization option. |
From the Compression and Encryption drop-down lists, select the required modes of transferring traffic between the server and Dr.Web.
To save the changes, click OK, then click Next.
|
If the attempt to establish connection fails, follow the link to check network parameters and/or try to connect to the server again by clicking the corresponding button. |
5.After the connection is established, the window opens notifying you that the product is ready to be installed. To start installation with the default parameters, click Install.
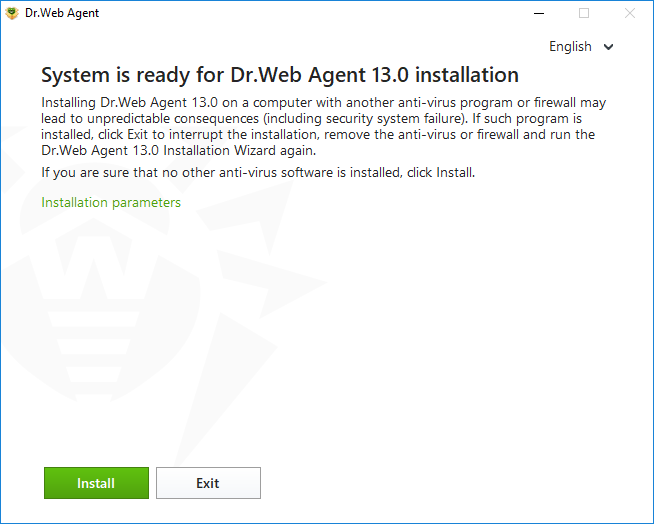
Figure 8. Ready for installation
To select components you want to install, specify the installation path, and configure other settings, click Installation parameters. The option is meant for experienced users.
6.If you have selected Install at the previous step, go to the description of step 9. Otherwise, the Installation parameters window opens.
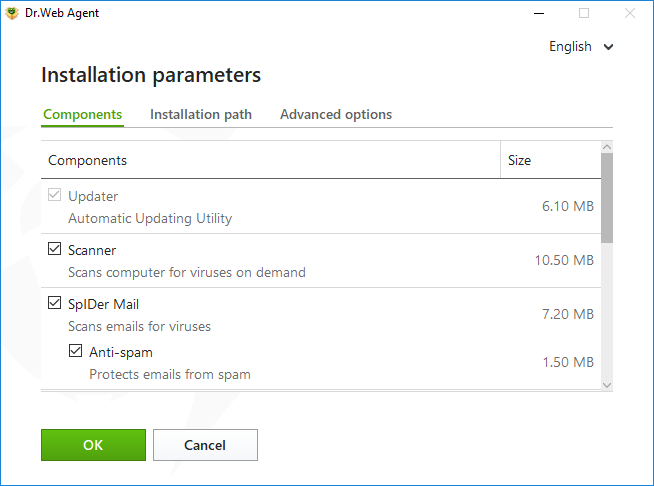
Figure 9. Installation parameters
On the Components tab, Dr.Web components are listed.
Select the check boxes next to those components that you want to install. By default, all components, except for Dr.Web Firewall, are selected.
7.On Installation path tab you can specify the installation folder for Dr.Web Agent for Windows. By default, it is installed into the Dr.Web folder in the Program Files folder on the system disk. To change the installation path, click Browse and specify the required folder.
8.On Advanced options tab you can configure additional installation settings.
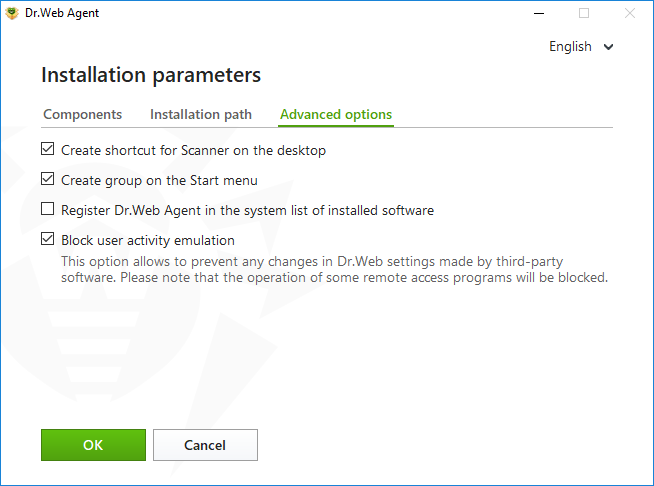
Figure 10. Installation parameters advanced options
If required, enable the Register Dr.Web Agent in the system list of installed software option. This option also allows you to remove Dr.Web and configure its components by the means of standard Windows tools.
The Block user activity emulation option allows you to prevent any changes in Dr.Web settings made by third-party software, including execution of scripts that emulate the mouse and the keyboard functioning in Dr.Web windows (for example, scripts to make changes in Dr.Web settings and other actions aimed at changing Dr.Web operation).
To save the changes, click OK, then click Install.
9.Installation of Dr.Web starts. No user action is required.
10.Once the installation is completed, you are prompted to restart the computer. Click Restart now.
Installation via the command line
To start the installation of Dr.Web using the command line, go to the folder where the installation file is located, then enter the executable file name (drweb_ess_windows_<Station_name>.exe) using the needed command line options.
The full list of command-line parameters can be found in Appendix A.
BFE service error while installing Dr.Web
Several Dr.Web components require the BFE (Base Filtering Engine Service) running. In case this service is absent or damaged, the installation of Dr.Web will not be possible. The damage or the absence of BFE service may indicate the presence of security threats on your computer.
If the attempt of Dr.Web installation has ended with error, do the following:
1.Scan workstation system using CureNet! utility by Doctor Web. You can ask for demo version of the utility (diagnostics without curing function) at https://download.drweb.com/curenet/.
You can check the terms of use and the price of the full version of this utility here: https://estore.drweb.com/utilities/.
2.Restore BFE service. To do this, you can use the Windows firewall recovery utility ![]() for Windows 7 and later. On Windows Server operating systems enable or restart BFE service manually. If you cannot restart BFE service or it is missing from the list of services, please contact Microsoft technical support
for Windows 7 and later. On Windows Server operating systems enable or restart BFE service manually. If you cannot restart BFE service or it is missing from the list of services, please contact Microsoft technical support ![]() .
.
3.Run Dr.Web installation wizard and perform the installation according the instruction described above.
If the problem continues to appear, address to Doctor Web technical support.