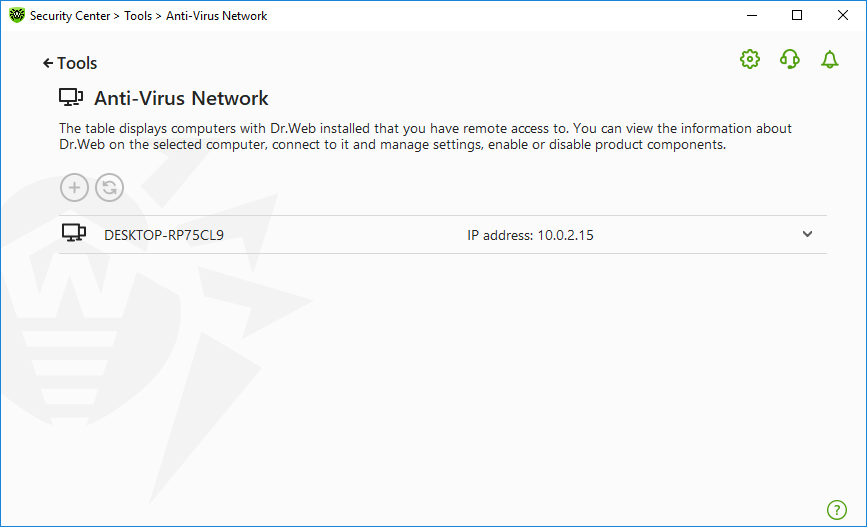
This tool allows the user to manage Dr.Web Server Security Suite or Dr.Web Security Space within one product version on other computers of your network.
To open the Anti-Virus Network window
1.Open Dr.Web menu ![]() , then select Security Center.
, then select Security Center.
2.In the open window, click the Tools tile.
3.Click the Anti-Virus Network tile.

Figure 114. Anti-virus Network nodes
Computers are listed if Dr.Web products installed on these computers allow remote connection. You can allow connection to your Dr.Web on the Anti-virus network settings page.
If the required computer is not on the list, try to add it manually. For this, click and enter an IP-address in a IPv4 or IPv6 format.
|
If a component is disabled on the station, an exclamation mark is displayed. |
![]() Parameters for Anti-Virus Network operation
Parameters for Anti-Virus Network operation
During anti-virus network operation multicast and UDP requests with following parameters are used: Parameters for multicast request: •IP address: 239.194.75.48 or ff08::28 for IPv4 and IPv6 respectively •Port: 55566 •Polling interval: 2000 ms Parameters for UDP request: •Port: 55566 •Polling interval: 2000 ms |
To connect to remote Dr.Web
1.Select a necessary computer from the list. In the expanded line, a detailed information about status of components on the station and about the last update is displayed.
2.Click Connect.
3.Enter the code specified in the settings of the remote anti-virus. An icon for the remote SpIDer Agent ![]() appears in the notification area, and the notification about successful connection will be displayed.
appears in the notification area, and the notification about successful connection will be displayed.
|
You can establish only one connection with a remote Dr.Web product. If one connection is already established, the Connect button is disabled. |
You can view statistics, enable or disable components, and change their parameters. Anti-Virus Network, Quarantine, Scanner and Data Loss Prevention are not available.
You have also an access to the Disconnect option. When choosing this option, the current connection to the remote anti-virus disables.