To start Quarantine Manager (see Figure 16) click the Dr.Web Quarantine icon on the Desktop.
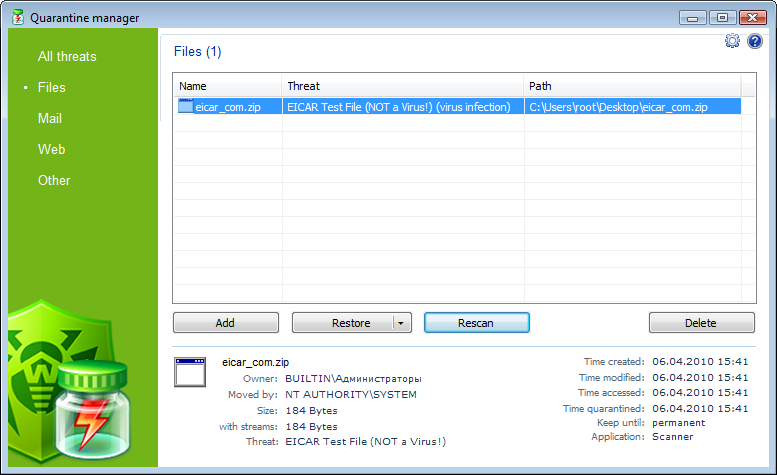
Figure 16. Quarantine window
In the center of the window the table with the quarantine state is displayed. The following columns are included by default:
•Name—name list of the objects in the Quarantine.
•Threat—malware classification, which is assigned by Dr.Web during automatic placing to the quarantine.
•Path—full path to the object before it was moved to quarantine.
In the bottom of the quarantine window the detailed information about selected items is displayed. You can display the columns with detailed information similar to the data in the bottom of the quarantine window.
To configure columns
1.To configure the display parameters of the table of quarantine, right-click the table header. Select Customize columns in the context menu.
2.In the opened window, select the items to display in the table. Clear the check boxes for the items you want to hide. Click Check all/Uncheck all to select/clear all items.
3.To change the columns order in the table, select the corresponding column in the list and click one of the following buttons:
•Move up—to move the column up in the table (to the head of the settings list and to the left in the objects table).
•Move down—to move the column down in the table (to the foot of the settings list and to the right in the objects table).
4.To save changes, click OK. To close window without saving, click Cancel.
The left pane serves to filter the quarantine objects to display. Click the corresponding option to display all quarantine objects or just specified groups: files, mail objects, webpages or all other objects, not classified.
|
In the quarantine window users can see only those files that are available by access rights. To view hidden objects, run the dwqrui.exe quarantine file from the installation folder under an administrative account. |