During installation of Dr.Web the Default profile, which cannot be renamed or deleted, is created automatically. This profile will remain active for all the traffic as long as you do not create a new profile and assign it to a certain group of clients. When you create a new profile, it has current settings of the Default profile.
To manage the existing profiles and create the new ones the Profiles pane is used. To open it select Profiles in the Dr.Web Administrator Web Console tree (see Figure 2).
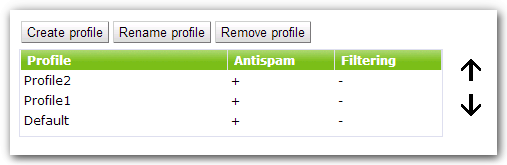
Figure 2. Profiles pane
For each profile the information on its settings is displayed in the list and profile priority is determined by its location in the table.
To create a new profile
1.Click Create profile above the list of available profiles.
|
Alternatively, to create a new profile, you can right-click Profiles in the console tree and select Create profile. |
2.In the opened window, enter a profile name. A new profile will appear under Profiles in the console tree. If a profile with the same name already exists, a new profile will not be created.
To rename a profile
•select the profile on the Profiles pane and click Rename profile.
To delete a profile
•Select it on the Profiles pane and click Remove profile.
|
Alternatively, to rename or delete a profile, you can right-click it in the console tree and select the corresponding item. |
By default, a new profile has the same settings as those specified for the Default profile.
To change profile settings
•Click the name of the profile in the console tree and select the necessary settings section: Scanning, Anti-spam or Filtering.