The file system monitor SpIDer Guard protects your computer in real time and prevents infecting of your computer. SpIDer Guard automatically launches upon Windows startup and scans file when they are opened, run, or edited. SpIDer Guard also monitors actions of launched processes.
To enable or disable the file system monitor
1.Open Dr.Web menu ![]() , then select Security Center.
, then select Security Center.
2.In the open window, click Files and Network tile.
3.Enable or disable the file system monitor SpIDer Guard by using the switcher ![]() .
.
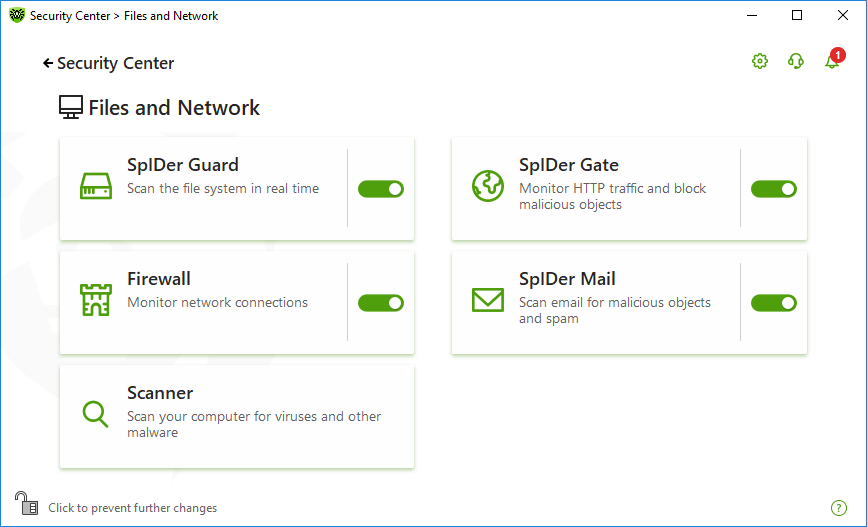
Figure 31. Enabling/Disabling SpIDer Guard
In this section:
•SpIDer Guard operation peculiarities
•Selecting the scan mode by SpIDer Guard
See also
•Excluding files and folders from scanning
•Excluding applications from scanning
SpIDer Guard operation peculiarities
With the default settings, SpIDer Guard performs on-access scans of files that are being created or changed on the hard drives and all files that are opened on removable media. Moreover, SpIDer Guard constantly monitors running processes for virus-like activity and, if such is detected, blocks malicious processes.
|
SpIDer Guard does not scan files within archives, email archives, and file containers. If a file within an archive or email attachment is infected, a threat will be detected on the archive extraction, when a computer cannot be infected. |
By default, SpIDer Guard loads automatically when Windows starts and cannot be unloaded during the current Windows session.
|
Incompatibility between Dr.Web and Microsoft Exchange Server is possible. If any problem occurs, add Microsoft Exchange Server databases and transaction log to the exclusion list of SpIDer Guard. |
SpIDer Guard file system monitor parameters
If infected objects are detected, SpIDer Guard applies actions according to the specified parameters. The default settings are optimal for most cases. Do not change them unnecessarily.
To open SpIDer Guard parameters
1.Make sure Dr.Web operates in administrator mode (the lock at the bottom of the program window is open ![]() ). Otherwise, click the lock
). Otherwise, click the lock ![]() .
.
2.Click the SpIDer Guard tile. A component parameters window opens.
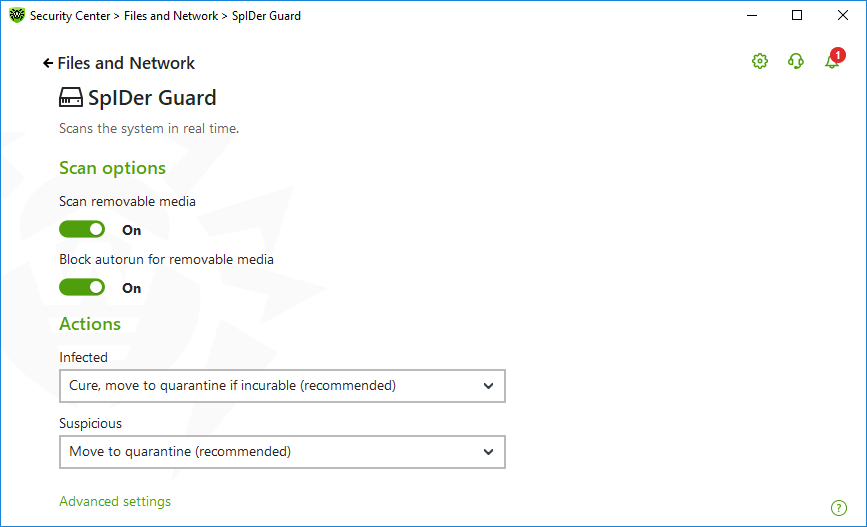
Figure 32. The file system monitor parameters
By default, SpIDer Guard performs on-access scans of files that are being created or changed on the hard drives and all files that are opened on removable media, as well as blocking the automatic startup of their active content. This method prevents your computer from getting infected through removable media, as SpIDer Guard monitors your file system accesses in the real-time mode and blocks the execution of malicious code.
|
Operating system may register some removable media as hard drives (for example, portable USB hard drives). In this case, the Safely Remove Hardware and Eject Media icon is not displayed in the Windows notification area. Unless in paranoid scan mode, SpIDer Guard does not perform scanning when reading a file from such a disk. Scan such devices with Dr.Web Scanner when you connect them to the computer. |
You can enable or disable the Scan removable media and Block autorun for removable media options by using the switcher ![]() in the Scan options setting group.
in the Scan options setting group.
|
If any problem occurs during installation with the autorun option, it is recommended that you temporary disable the Block autorun for removable media option. |
In this group, you can configure actions that Dr.Web will apply to threats detected by the file system monitor SpIDer Guard.
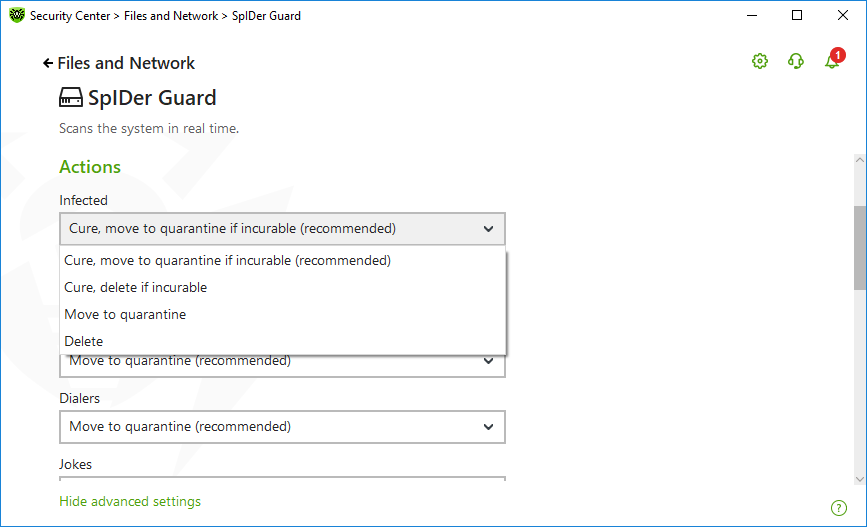
Figure 33. Configuring actions applied to threats
The actions are set separately for each type of malicious and suspicious objects. These actions vary for different object types. The recommended actions are set by default for each type of objects. Copies of all processed objects are stored in Quarantine.
The following actions can be applied to threats:
|
To access this and following sections, click the Advanced settings link.
In this setting group, you can select the file scan mode of the SpIDer Guard monitor.
Mode |
Description |
|---|---|
In this mode, SpIDer Guard scans objects only when one of the following actions is traced: •For objects on hard drives, an attempt to execute a file, create a new file, or add a record to an existing file or boot sector. •For objects on removable media, an attempt to access file or boot sectors in any way (write, read, execute). It is recommended that you use this mode after a thorough scan of all hard drives by Dr.Web Scanner. With this mode activated, SpIDer Guard prevents possibility of penetration of new viruses and other malicious objects via removable media into your computer while preserving performance by omitting knowingly “clean” objects from repeated scans. |
|
Paranoid |
In this mode, SpIDer Guard scans files and boot sectors on hard or network drives and removable media at any attempt to access them (create, write, read, execute). This mode ensures maximum protection but considerably reduces computer performance. |
The settings of this group allow you to specify parameters for scanning objects on-the-fly and are always applied regardless of the selected SpIDer Guard operation mode. You can enable:
•Use of heuristic analysis
•Scan of programs and modules to download
•Scan of installation packages
•Scan of files on network drives (not recommended)
•Scan of a computer for the presence of rootkits (recommended)
•Scan of scripts executed with Windows Script Host and PowerShell (for Windows 10, Windows 11)
Heuristic analysis
By default, SpIDer Guard performs scan using heuristic analysis. If this option is disabled, SpIDer Guard will use signature analysis only.
Background rootkit scanning
Anti-rootkit component included in Dr.Web provides options for background scanning of the operating system for complex threats and curing of detected active infections when necessary.
If this option is enabled, Dr.Web Anti-rootkit constantly resides in memory. In contrast to the on-the-fly scanning of files by SpIDer Guard, scanning for rootkits includes checking of autorun objects, running processes and modules, Random Access Memory (RAM), MBR/VBR disks, computer BIOS system, and other system objects.
One of the key features of Dr.Web Anti-rootkit is delicate attitude towards consumption of system resources (processor time, free RAM, and others) as well as consideration of hardware capacity.
When Dr.Web Anti-rootkit detects a threat, it notifies you on the detection and neutralizes the malicious activity.
|
During background rootkit scanning, files and folders specified on the Excluded files page are excluded from scanning. |
Background rootkit scanning is enabled by default.
|
Disabling of SpIDer Guard does not affect background scanning. If the option is enabled, background scanning is performed regardless of whether SpIDer Guard is running or not. |