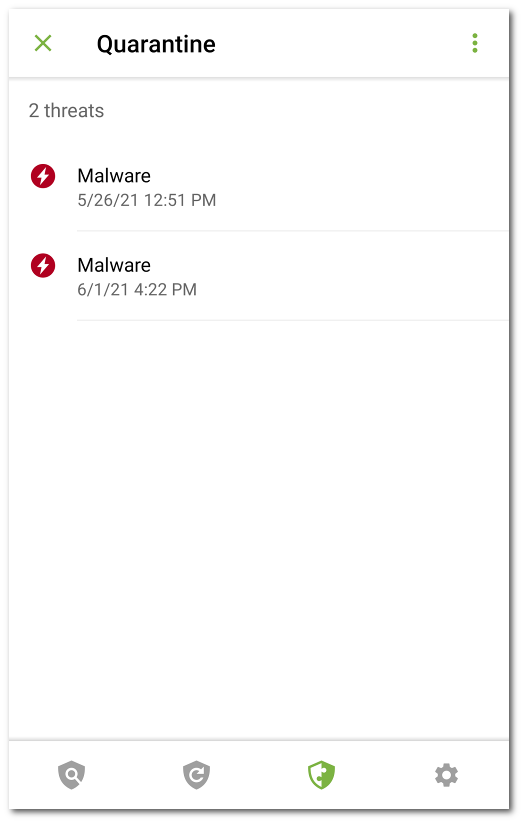
Dr.Web allows you to move the detected threats to the quarantine folder, where they are isolated and cannot damage the system.
Viewing quarantined files
To view the list of threats moved to quarantine, tap the ![]() icon on the navigation panel and select Quarantine.
icon on the navigation panel and select Quarantine.
Viewing information on quarantined threats
To view information on a threat, tap it in the list.
For each threat, the following information is available:
•file name;
•path to the file;
•date and time the threat was quarantined.
You can expand a card containing information on a threat by swiping it up. Swipe the card down to collapse it.
To view the full list of all threats in an archive which contains multiple threats, select it and tap Expand in the Threat row.
Available options
For each threat, the following options are available:
•More on the internet to view the threat description on the Doctor Web website.
•Restore to return the file back to the folder where it was quarantined from (use this action only if you are sure that the file is safe).
•Delete to completely delete the file from quarantine and from the device.
•False positive to send the file to Doctor Web anti-virus laboratory for analysis. The analysis will show if the file does pose a threat or it is a false positive. If it is a false positive, it will be fixed. To receive the analysis results, enter your email.
False positive option is available only for threat modifications. |
Deleting all objects from quarantine
To remove all quarantined objects at once:
1.Open the Quarantine section.
2.On the Quarantine screen, tap Menu ![]() and select Delete all.
and select Delete all.
3.Tap Delete to confirm the removal.
Tap Cancel to cancel the action and return to the Quarantine screen.
To view the information on the internal device memory free space and space occupied by the quarantine:
1.Open the Quarantine section.
2.On the Quarantine screen, tap Menu ![]() and select Size.
and select Size.
3.Tap OK to return to the Quarantine screen.
