To protect important files from being changed by malicious software, enable the Data Loss Prevention. With this function, you can make copies of files that reside in the specified folders.
|
You cannot change data loss prevention parameters or restore files from copies in user mode. For this actions, switch to administrator mode.
If a file is blocked, it will not be copied. |
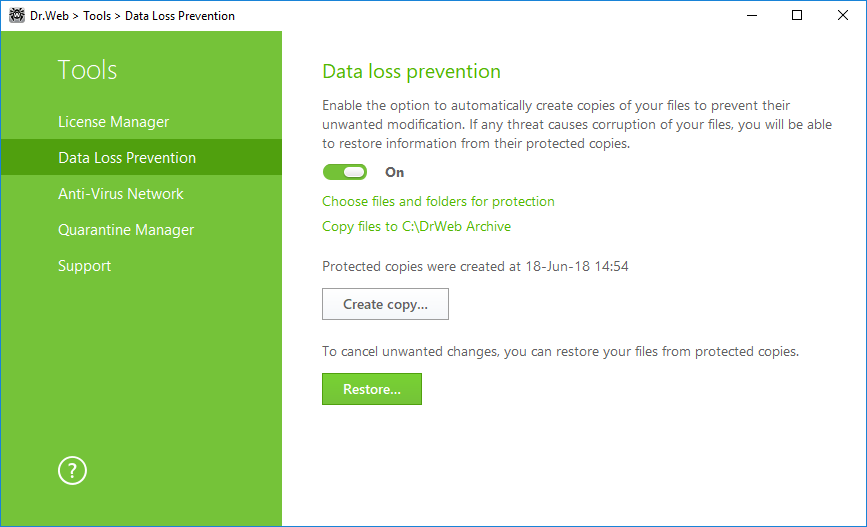
Figure 12. Data loss prevention
To configure list of files and folders for protection
Click the Choose files and folders for protection link to specify the objects for which protected copies will be created:
•to add a file or a folder, click ![]() and select the required object;
and select the required object;
•to remove an object from the list, select the corresponding item from the list and click ![]() .
.
You may change the objects list at any time.
Parameters for creating a copy
Click the link Copy files to C:\DrWeb Archive. Specify the required parameters in the appeared window.
1.Set common parameters for copies:
•Specify a disk for storage of copies.
•Specify frequency of copy creation. After the chosen interval, Dr.Web will inspect the specified objects for changes and create a copy if any changes have been made.
•If necessary, block the copy creation option when running on battery power.
2.Specify a limit of available disk space:
•Set maximum disk space used for storage of copies.
•If necessary, specify a limit on number of copies.
•Select one of the actions: if any of the specified limits is exceeded, copies are not created, or they overwrite the existing ones (starting from the oldest copy).
Removal of created copies
You may also delete copies to free up some disk space (deleting the copies will not affect the original files). To do that click Copy files to C:\DrWeb Archive, then click Delete copies.
Restoring files
If your files were corrupted, you can restore their copies created by a certain date. To do that, click the Restore button in the main window and then click Next. In the window displayed, select the required date and all copies that were available for the date will be restored to the specified folder.
Start creating copies manually
To start creation of protected copies manually, click the Create copy button in the main window. In the window displayed, specify the description for the new copy.
|
To ensure correct operation the Data Loss Prevention system, you need to have at least 20 GB free on the disk that is selected for storing protected copies. |