|
Only a user with administrative privileges can install Dr.Web. |
There are two installation modes of Dr.Web:
| 1. | The background mode. |
| 2. | The usual mode. |
Installing with command line parameters
To install Dr.Web with command line parameters, enter in the command line the executable file name with necessary parameters (these parameters affect installation in background mode, installation language, reboot after installation, and Dr.Web Firewall installation).
Parameter |
Description |
reboot |
Restart computer automatically after installation is complete. |
installFirewall |
Install Dr.Web Firewall. |
lang |
Language used for the installation. The value of this parameter is language in ISO 639-1 format. |
silent |
Installation in background mode. |
For example, to start background installation of Dr.Web with reboot after installation, execute the following command:
C:\Documents and Settings\drweb-800-win-space.exe /silent yes /reboot yes
|
The given images match Dr.Web Security Space interface. The steps of installation are similar for Dr.Web Anti-virus for Windows. |
Usual Installation
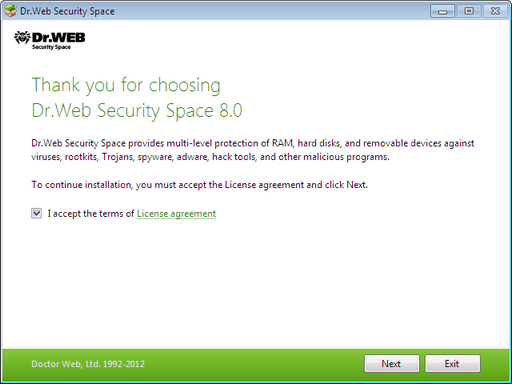
| 1. | On the first step of the installation, read the license agreement. To continue installation, you must accept its terms and click Next. |
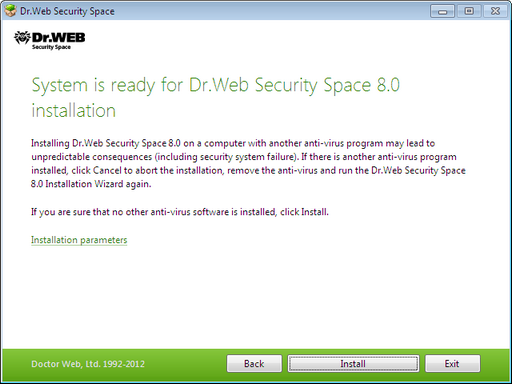
| 2. | On this step, if other anti-virus software is installed on your computer, the installation wizard informs you on incompatibility between Dr.Web and other anti-virus products and offers to remove it. |
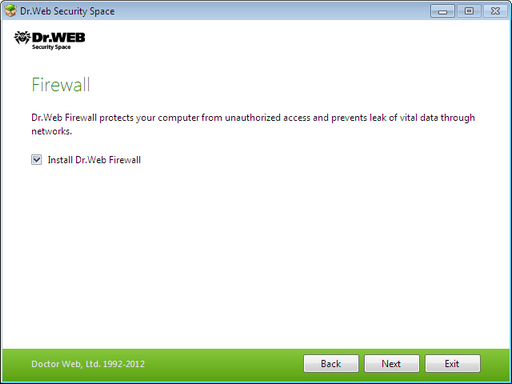
| 3. | In the next window you will be offered to install Dr.Web Firewall. |
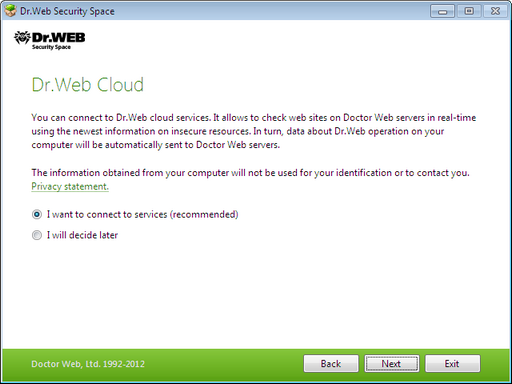
| 4. | On this step, you are prompted to connect to Dr.Web cloud services that allow to check Web sites using the newest information. |
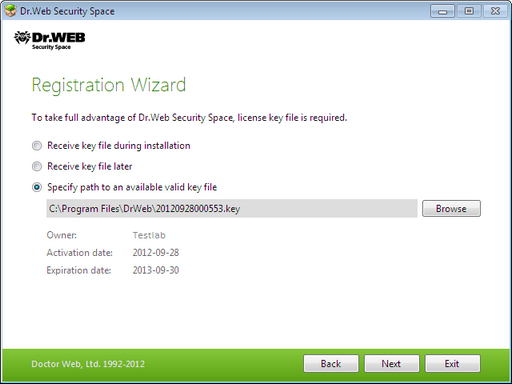
| 5. | On this step, the installation wizard informs you that a key file is required for Dr.Web operation. There are two types of key files: license and demo key file. Do one of the following actions: |
| • | if a key file is present on the hard drive or removable media, click Browse and select the key file in the appeared dialog window; |
| • | if you want to receive a key file during the installation, select Receive key file during installation; |
| • | if you want to continue the installation and use a temporary key file, select Receive key file later. Updating is not available until you have installed license or demo key file. |
Click Next.
|
Use only a Dr.Web key file. Key files of this type have the .key extension. |
| 6. | The window displays, informing you that the program is ready to be installed. To start installation with the default parameters, click Install. |
To select components to be installed, specify the installation path and other additional parameters, click Installation parameters. The option is meant for experienced users.
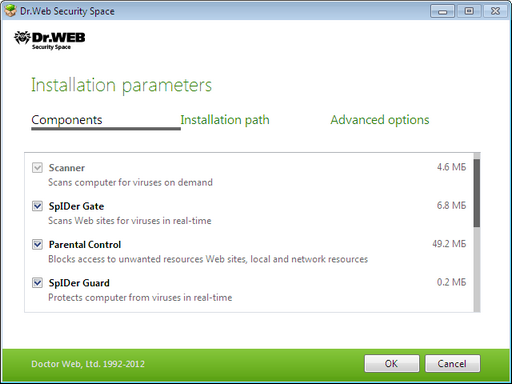
| 7. | If you clicked Install on the previous step, go to the description of step 10. Otherwise, the Installation parameters window displays. On the first tab, you can specify the components to be installed. |
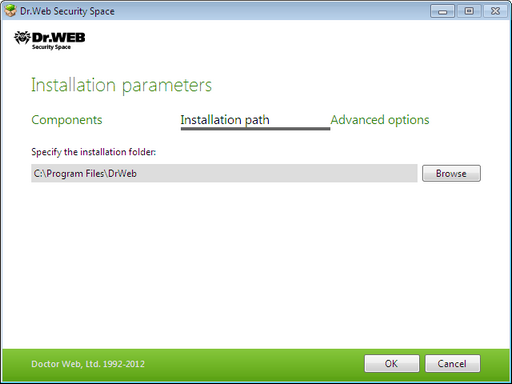
| 8. | On this tab, you can change the installation path. |
| 9. | If you specified a valid key file or selected Receive key file during installation on step 5, the last tab of the window allows you to select Update during installation checkbox to download updates to virus databases and other program components. The window also prompts you to create shortcuts to Dr.Web. |
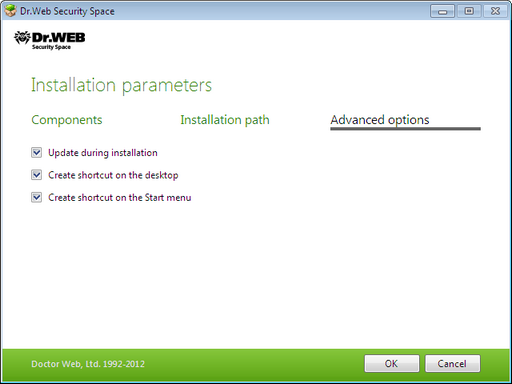
When you finish adjusting the installation parameters, click ОК.
| 10. | If you selected Receive key file later on step 5, the procedure of receiving the key file from the Internet starts on this step. |
| 11. | During default installation as well as if you specified a key file or received it during the installation and selected Update during installation checkbox on step 9, the wizard updates virus databases and other Dr.Web components. Updating starts automatically and does not require any additional actions. |
| 12. | If you selected Dr.Web Firewall to be installed, it is required to restart the computer after the installation completes. |