After the installation program for graphics mode starts, a window of the Installation Wizard displays. The welcome page shows packages of the product that are included in the distribution and can be installed via the Wizard.
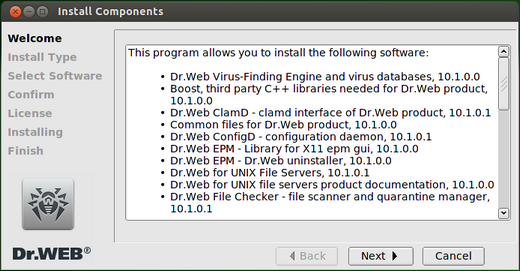
Picture 3. Welcome page
To start installation of Dr.Web for UNIX File Servers, click Next. If you choose not to install the product and exit the Wizard, click Cancel.
1.In the first step, select the type of the installation by using the switch button. If the Dr.Web for UNIX File Servers item is selected, all packages included in Dr.Web for UNIX File Servers will be automatically installed. If the Custom Configuration item is selected, you will be prompted to select required components manually in step 2. Otherwise, the Wizard will proceed to step 3.
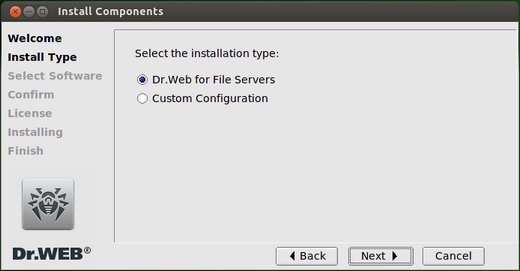
Picture 4. Selection of the installation type
After you select the installation type, click Next. If you choose not to install the product and exit the Wizard, click Cancel.
2.If in the first step you selected Custom Configuration, the next screen will prompt you to select packages for installation. By clicking Select all, you can select all of the components at once; by clicking Select none—clear the selection. Note that selection of a package means automatic selection of other packages on which this package is dependent. Similarly, deselection of a package means automatic deselection of all packages that depend on it.
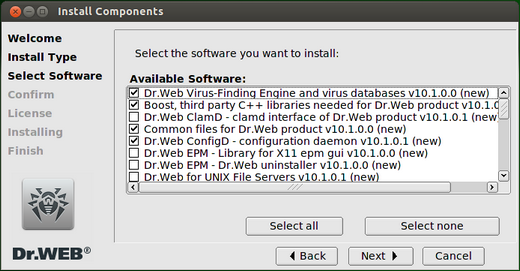
Picture 5. Selection of packages to be installed
After you select required components, click Next. If you choose not to install the product and exit the Wizard, click Cancel.
3.The next page of the Wizard displays the list of product packages that will be installed on your computer.
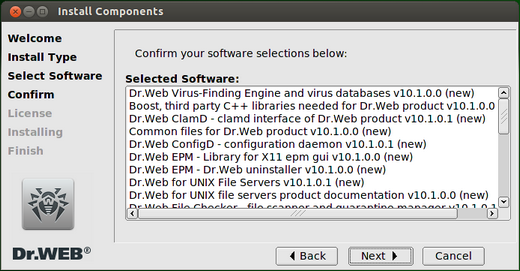
Picture 6. Confirming the list of components to be installed
To confirm your selection, click Next. To cancel the installation and exit the Wizard, click Cancel. To edit the list of the components to be installed, click Back. Note that clicking the Back button opens the windows with listed components (step 2) regardless of the installation type that you selected in step 1.
3.In the next step, read the text of the Dr.Web License agreement and information about copyright on the installed Dr.Web for UNIX File Servers components (including copyright on third-party components). To view the text of the License agreement and information on copyright, select the corresponding tab. The Select language drop-down list allows to select the language for the Dr.Web License Agreement.
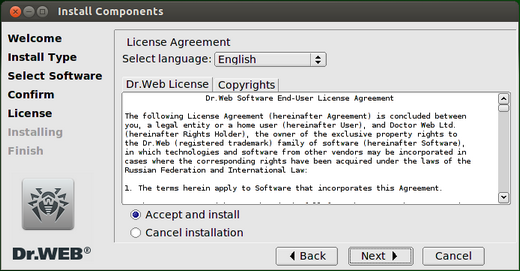
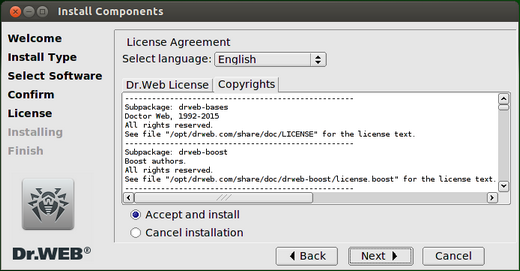
Picture 7. Viewing the License agreement and copyright information
To start installation of the product packages, accept the terms of the license agreement (for this, use the Accept and install switch) and click Next. Note that if you select Cancel installation and click Next, the Installation Wizard will exit as the terms of the License agreement were not accepted. You can also click Cancel to end the installation process and exit the Wizard.
4.After you accept the terms of the License agreement, unpacking of packages and copying files to your computer will start.

Picture 8. Installation of the product packages
5.After program files are successfully copied and all required changes to the system files are made, you will see the Run interactive postinstall script option below the installation log. Select this option if you want to start an interactive script for product setup. You can skip this step and configure the product later. Then click Next. If the Run interactive postinstall script option was selected, an interactive setup script will run (see below). When execution of the script completes, the final page of the wizard opens. If the option was not selected, the Wizard will proceed to its final page.
|
If xterm terminal emulator is not present in the system, the interactive setup script cannot be started automatically. In this case, start the script manually after the installation process completes (the script file drweb_smbspider_configure.sh resides in the <opt_dir>/share/drweb-smbspider-modules/ directory). |
6.In the last step, the final page of the Wizard opens and displays the results of Dr.Web for UNIX File Servers installation.
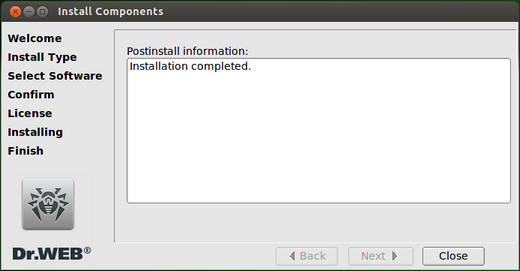
Picture 9. Final page
To exit the Wizard, click Close. If the installation process failed due to an error, the final page of the Wizard will display an appropriate message. If so, exit the Wizard by clicking Close. Remove the problems, which caused this error, and start installation again.
7.After the installation completes, an appropriate message displays and informs on how to manage product operation (the text of the message is duplicated in the terminal emulator, if it is open).
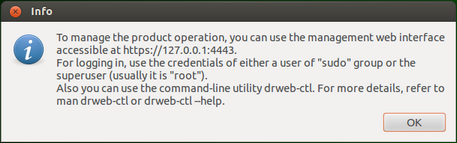
Picture 10. Text message
Interactive setup script allows automatic integration of Dr.Web for UNIX File Servers and Samba file server and helps to specify the list of shared directories monitored by monitor SpIDer Guard for SMB.
If you wish to configure integration, enter y or yes as the answer to the question "Do you want to continue?". If you enter n or no, execution of the script will end.
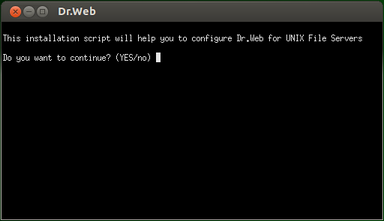
Picture 11. Running the interactive setup script
If a valid key file is not available on your computer in the standard product directory, the script will offer you to specify the path to the valid key file. Otherwise, this step will be automatically skipped.
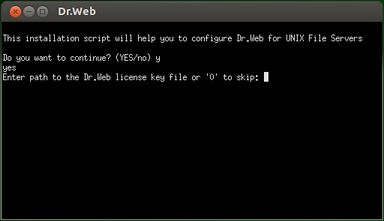
Picture 12. Specifying path to key file
To skip this step, enter 0. Later, you can install the key file manually. If a valid key file is available on your computer, specify the path to it and press ENTER. The file will be copied to the standard product directory.
Next, allow or deny modification of the smb.conf configuration file of the Samba server and confirm that the installation script found the right path to the Samba server. Otherwise, specify the correct path.
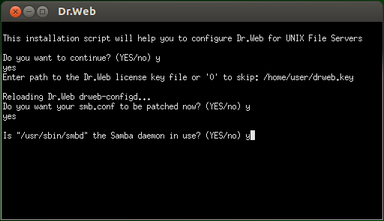
Picture 13. Determination of the used Samba server and its configuration file
Select shared directories, managed by Samba, that must be monitored by SpIDer Guard for SMB. For that, follow the instructions of the script:
•If you specify the number of a shared directory that is not marked with [X], this directory is to be monitored; otherwise, it is excluded from monitoring.
•If you enter A or All, all available shared directories will be added for monitoring; if you enter N or None, all shared directories will be excluded from monitoring.
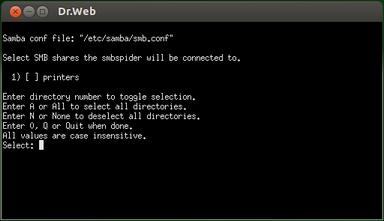
Picture 14. Selection of shared directories for monitoring
To finish the selection and save the changes to the configuration file, enter 0, Q, or Quit.
After that, all changes are saved to the configuration file. Additionally, the required version of the VFS SMB library module will be determined and the corresponding link will be added to the Samba server directory.
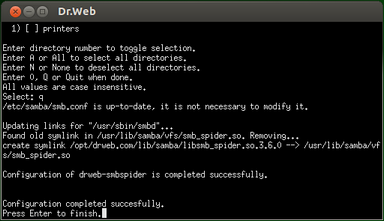
Picture 15. Completion of the script operation
After you finish adjusting the settings, press Enter to end execution of the script.