To install with GUI
1.Enter the following command:
# drweb-file-servers_[version number]~[OS name]/install.sh
The setup program launches. On the Welcome screen, click Next.
At any step you can return to the previous one by clicking Back. To continue installation, click Next. To abort installation, click Cancel.
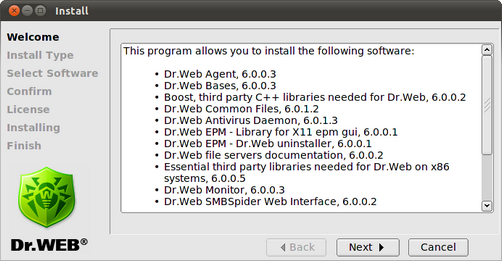
Figure 2. Welcome screen
2.On the Install Type screen, select the installation type: typical configuration for Dr.Web for File Servers with all the necessary components selected by default or custom configuration.

Figure 3. Install type window
If you selected Custom Configuration, then select necessary components on the Select Software screen:
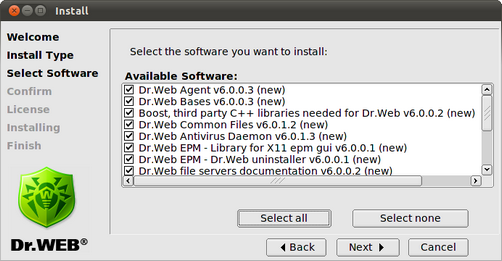
Figure 4. Select Software screen
|
If installation of a component requires some other components to be previously installed, all corresponding dependencies are selected for installation automatically. For example, if you select to install Dr.Web Antivirus Daemon, then Dr.Web Bases and Dr.Web Common Files are installed automatically. |
Click to Select all to select all components. Click Install None to clear selection.
3.On the Confirm screen, review and confirm the list of components to install:
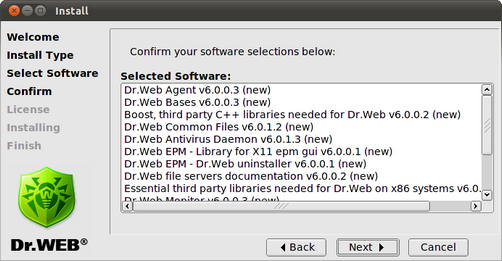
Figure 5. Confirm screen
Click Next to confirm selection, or click Back to make changes.
4.Review the License Agreement. To proceed, you need to accept it. If necessary, use the Language list to select a preferred language of the agreement (Russian and English languages are available):
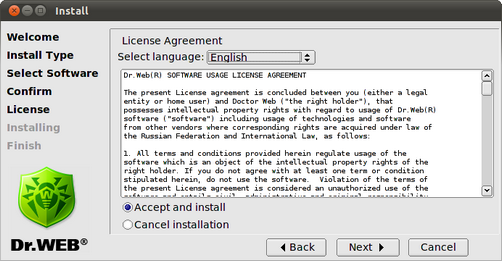
Figure 6. License Agreement screen
5.After you accept the License Agreement, installation starts. On the Installing screen, you can review the installation process in real-time:
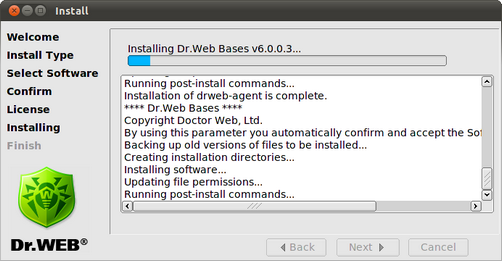
Figure 7. Installing screen
This report is logged at the same time in the install.log log file located at the drweb-file-servers_[version number]~[OS name] directory. If you selected Run interactive post-install script, once component installation completes, the post-install script for Dr.Web for UNIX File Servers basic configuration initializes.
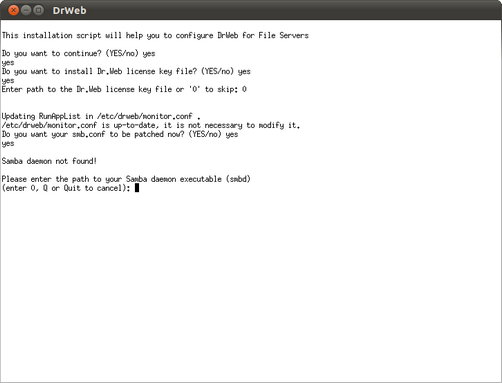
Figure. 8. Interactive post-install script
After initialization of the script, you can specify a path to the key file, set an order of mail processing by the plug-ins and automatically enable services necessary for Dr.Web for UNIX File Servers proper operation (for example, Dr.Web Daemon, Dr.Web Agent, Dr.Web Monitor). You can also select from the list network disks to be protected by Dr.Web for UNIX File Servers.
On the Finish screen, you can see a notification that further adjustment is required to provide proper operation of Dr.Web for UNIX File Servers, click Close to exit setup:
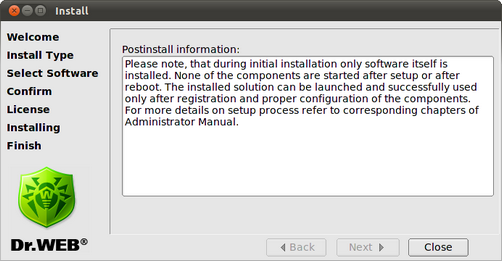
Figure 9. Finish screen