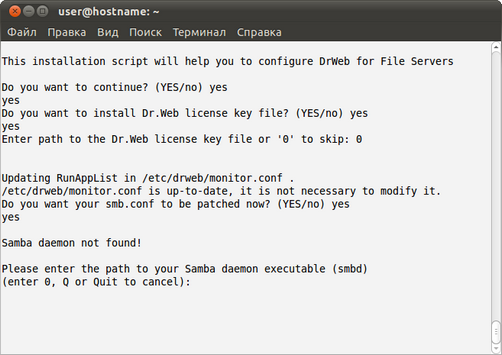
Console installer starts automatically if the GUI installer fails to start. If the console installer also fails to start (for example, if it is impossible to gain necessary privileges), you can try to run the following command with root privileges:
# drweb-file-servers_[version number]~[OS name]/setup.sh
To install from console
1.Once the console installer starts, the following dialog window opens:
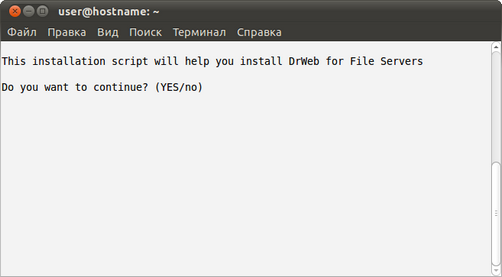
2.If you want to install Dr.Web for UNIX File Servers, enter Y or Yes (values are case insensitive), otherwise enter N or No. Press ENTER.
3.If you chose to install Dr.Web for UNIX File Servers, installer suggests you to select the installation type:
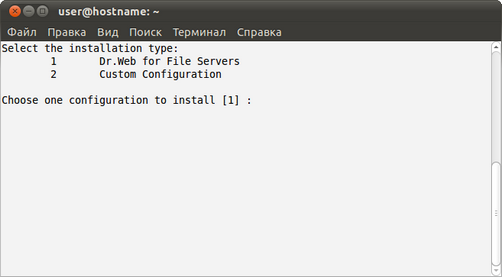
To select a required mode, enter the respective number and press ENTER.
4.If you selected Custom Configuration, specify required components to install:
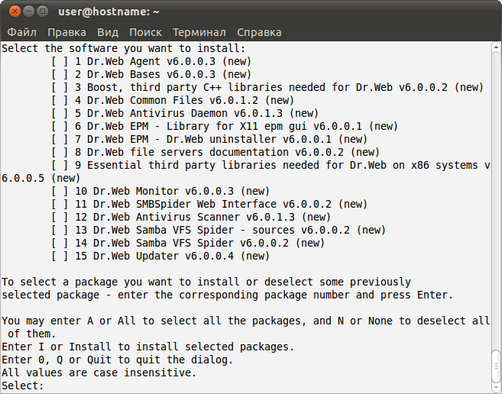
To specify a required component, enter the respective number and press ENTER.
5.Review the License Agreement. To scroll the text, press SPACEBAR:
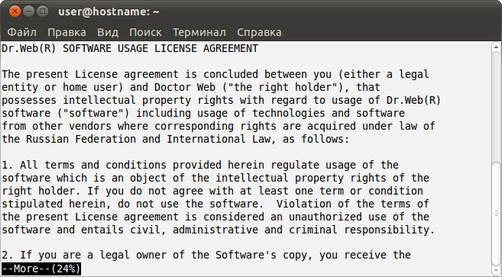
To continue the installation, you need to accept the License Agreement. If you agree to the terms, enter Y or Yes. Otherwise, the installation aborts.
6.The installation process starts immediately. You can review results of the installation steps in the console in real time:
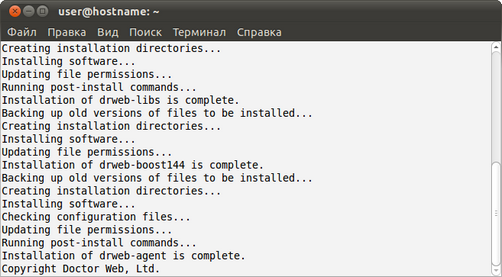
7.Once installation of the components completes, the post-install script runs automatically to set up Dr.Web for UNIX File Servers basic configuration. You are offered to specify the path to the license key file and automatically enable all the services necessary for Dr.Web for UNIX File Servers proper operation (for example, Dr.Web Daemon, Dr.Web Agent, Dr.Web Monitor). In addition, you can specify network disks to be protected.
