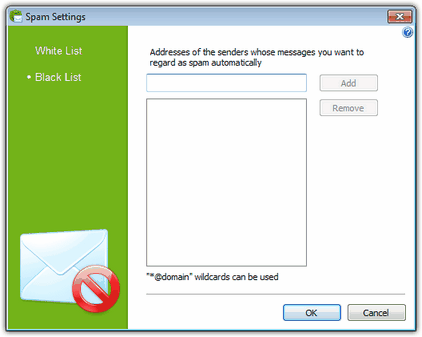
In this window, you can configure lists of senders whose messages are delivered or blocked by SpIDer Mail automatically, that is, without analyzing their contents.
To open this window
In the SpIDer Mail settings window, click Anti-spam and then Black list.

For details on a certain option, click a corresponding item in the picture.
If you add an address to the black list, all messages from the sender will be regarded as spam automatically, i.e. without scanning. By default, the list is empty.
|
If the spam filter wrongly regards certain messages as spam, forward such messages to special e-mail addresses for analysis. |
To configure black list
| 1. | Select the Black list tab. |
| 2. | Enter an address or mask for addresses of the senders whose messages you want to regard as spam automatically. |
|
| 3. | Click Add. |
| 4. | To add other addresses, repeat steps 2 to 3. To remove an address from the list, select the corresponding item and click Remove. |
| 5. | After editing, click OK to save the changes or Cancel to cancel them. |