Once the Removal wizard starts in graphics mode, its welcome page is displayed informing you on product packages that can be removed with the Wizard.
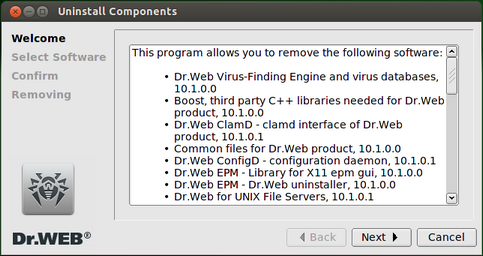
Picture 23. Welcome page
To select Dr.Web packages for removal, click Next. If you choose not to remove the product, you can terminate the operation of the Wizard by clicking Cancel.
1.In the first step, you will be prompted to select product packages to be removed. Two modes are available for the removal: basic and advanced. In basic mode, all products of Dr.Web, installed on your computer and available for removal, are displayed. If you select a product on the list, all packages of this product will be automatically selected for removal and if they are not used by other Dr.Web products installed on your computer. In the advanced mode, all packages of Dr.Web are displayed; so, you can select only those packages that you want to remove. Click Select all if you want to select all list items for removal (installed products or packages, depending on the mode). Click Select none is you want to deselect all list items.
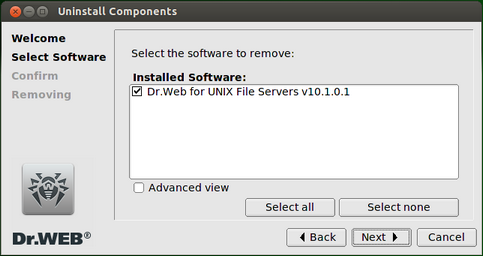
Picture 24. Selection of products for removal in basic mode
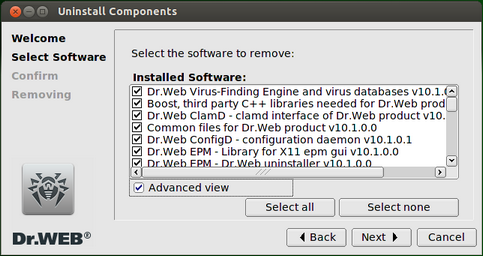
Picture 25. election of products for removal in advanced mode
To switch to advanced mode, select Advanced view; to switch back to basic mode, deselect this option. Note that selection of a package for removal leads to automatic selection of all packages that depend on this package. Similarly, deselection of a package leads to deselection of all packages on which this package is dependent. After selecting all required products or packages, click Next to proceed to confirmation of the removal. To terminate the operation of the Wizard, click Cancel.
|
Be careful when selecting packages for removal in advanced mode: removal of some package can cause problems in operation of all installed Dr.Web that use files from this package. If you removed a package by mistake, use the installer in Custom configuration mode and install this package again. |
2.In the next step, the list of Dr.Web to be removed are displayed.
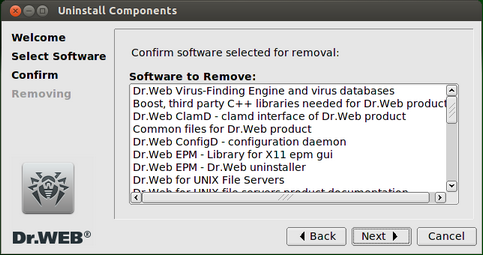
Picture 26. Removal confirmation
To confirm the removal, click Next. To edit this list, click Back. If you choose not to remove the packages and terminate the operation of the Wizard, click Cancel.
3.After you confirm the removal of Dr.Web, the process starts.
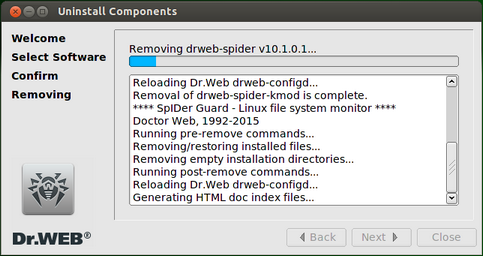
Picture 27. Removal process
To close the Removal Wizard after it deletes all files, click Close.
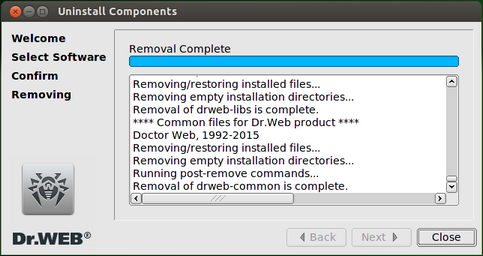
Picture 28. Completion of the removal